
Get Professional Glass Skin Results For Your Feet At Home
· Last updated June 12, 2026Soft glowing feet that look smooth and polished like glass are no longer limited to salon visits. The glass feet trend has taken over social media and beauty routines across the United States. People are now switching to simple at home methods that save both time and money while still giving impressive results.
If you have ever wondered how to achieve that flawless finish without stepping into a salon, this guide will walk you through everything you need. From removing rough skin to maintaining long lasting smoothness, you will learn practical steps that actually work. Let’s break it down in a way that feels easy, realistic, and worth trying.
Why the Glass Feet Trend is More Than Just a Fad
When we talk about glass feet we are referring to skin that is so healthy and hydrated it has a natural sheen. This trend has gained massive popularity because it prioritizes skin health over just aesthetic coverage. Traditional pedicures often focus on polish but the glass foot routine focuses on the foundation of the foot itself.
Achieving this look requires removing years of built up calluses and addressing the dry skin that often plagues our heels during the changing seasons. It is a satisfying process that yields immediate visible results. Plus once you master the technique you can maintain that soft feeling year round without waiting for your next salon opening.
Step By Step Routine to Get Glass Feet at Home
Achieving smooth feet is not about one single product. It is about following the right process in the right order.
Step One Soak and Soften Your Feet
Start by soaking your feet in warm water for about fifteen to twenty minutes. Add a gentle cleanser or a few drops of essential oil if you like. This step softens the skin and makes it easier to remove dead layers. Pat your feet dry but keep them slightly damp. This helps in the next step.
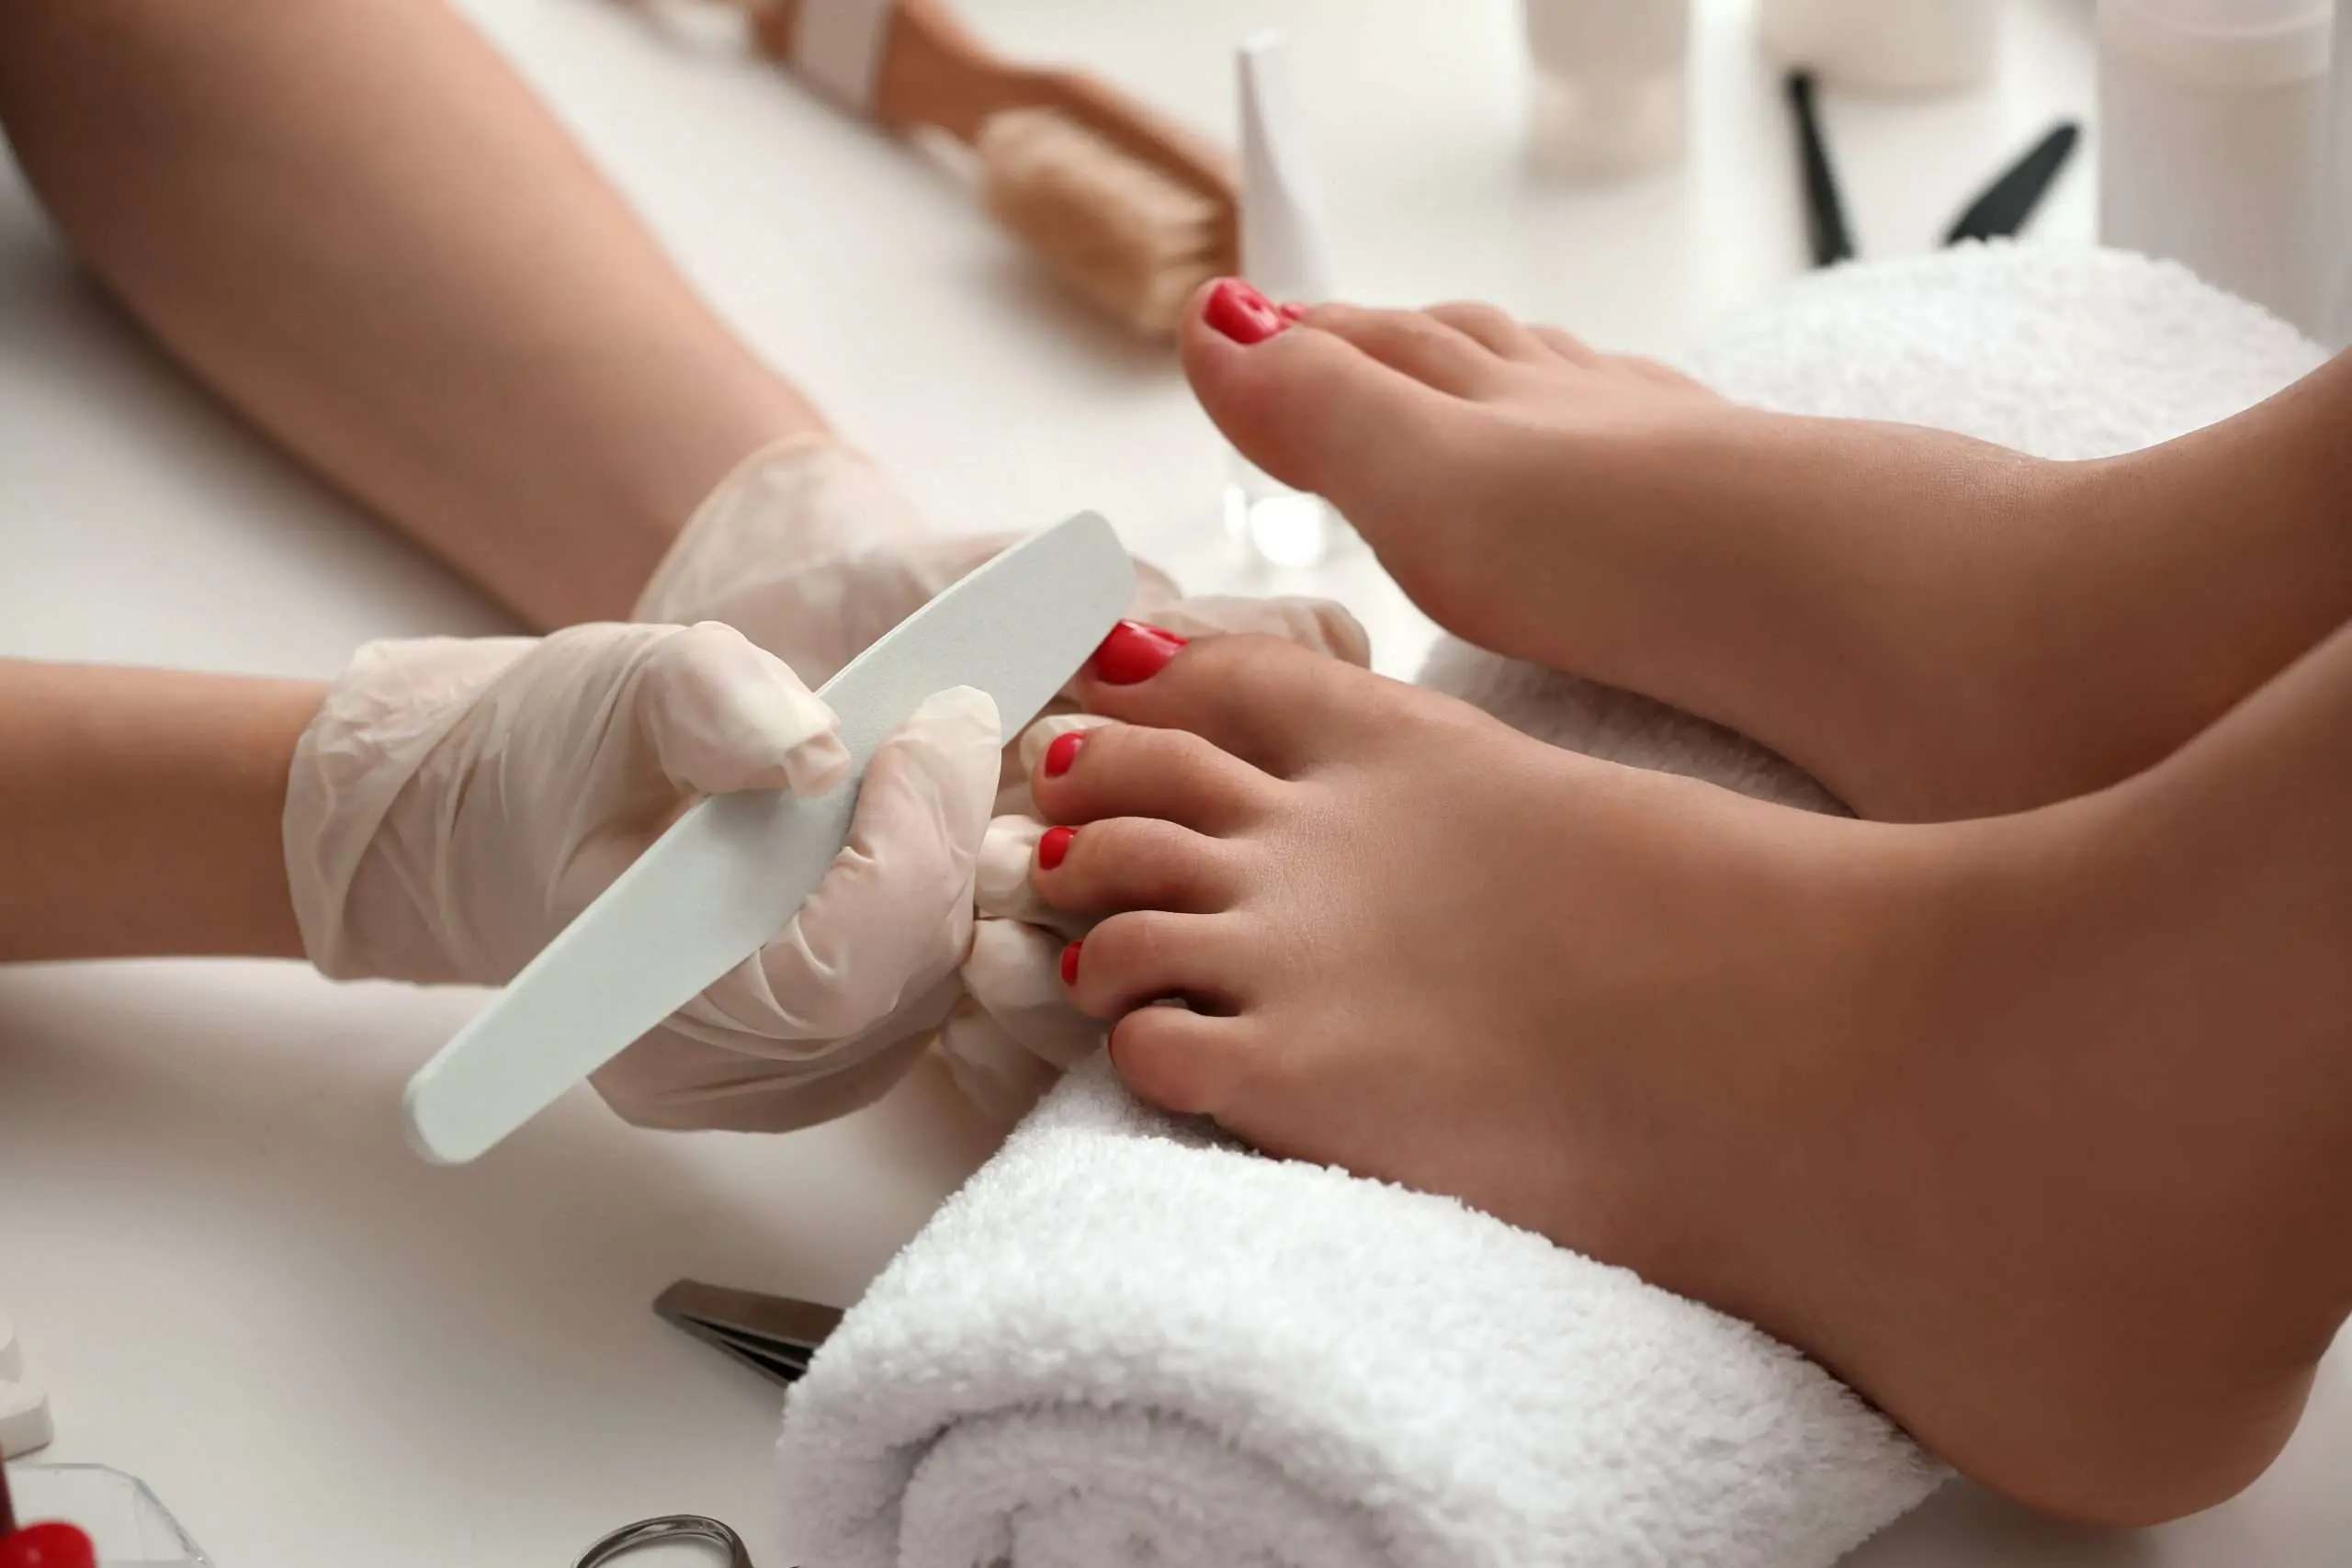
Step Two Remove Dead Skin Effectively
This is where most of the transformation happens. Use high quality pedicure tools for cracked heels to gently remove thick skin. Focus on areas like heels and the sides of your feet.
For faster results, many people prefer to buy electric callus remover devices since they are more efficient and require less effort. Move slowly and avoid applying too much pressure. The goal is to smooth the skin, not damage it.
Step Three Exfoliate for a Polished Finish
After removing the rough layer, exfoliation helps refine the texture. Use a scrub that targets dead skin and uneven areas. Massage it in circular motions to improve circulation and enhance softness. This step gives your feet that polished and even look that defines the glass feet trend.
Step Four Hydrate Deeply
Moisture is key to maintaining smooth skin. Apply a rich cream or foot mask and let it absorb fully. For better results, wear soft socks overnight to lock in hydration. Consistency matters here. Hydrated skin stays soft longer and prevents cracks from forming again.
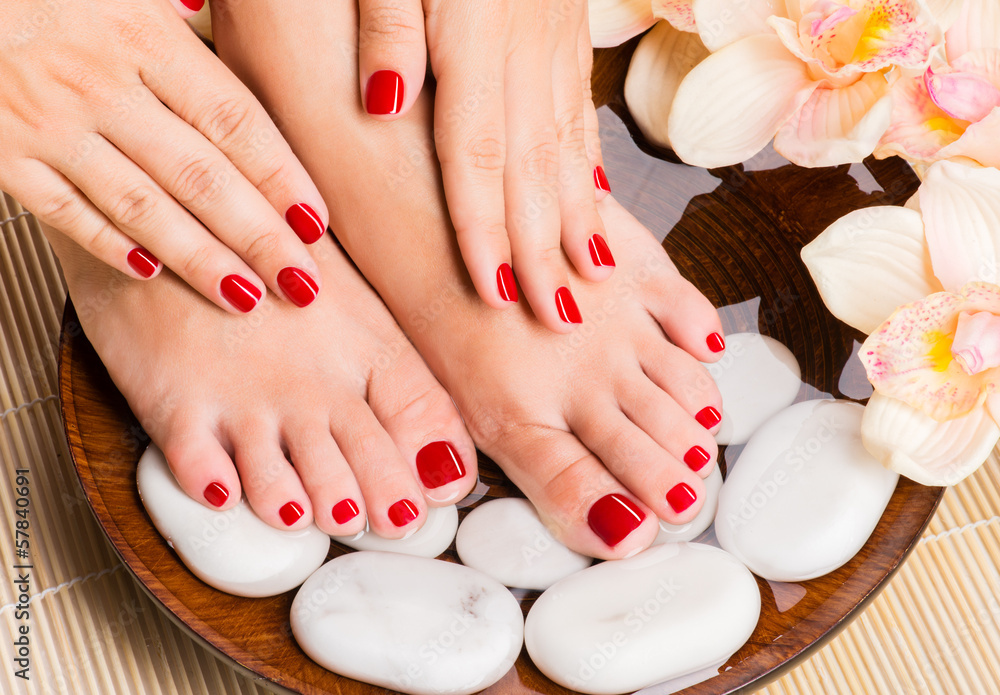
Step Five Shape and Style Your Nails
Clean and well shaped nails complete the look. Trim and file your nails neatly. If you want a salon-like finish, consider using a portable nail drill and UV lamp to shape and cure polish effectively. This step adds that final touch of perfection to your at home pedicure.
How to Maintain Glass Feet Results
Getting smooth feet is only half the job. Maintaining them is where most people struggle.
Daily Care Routine
- Apply moisturizer every night
- Avoid walking barefoot on rough surfaces
- Use gentle exfoliation once or twice a week
Weekly Maintenance
Use light filing to prevent buildup. Avoid aggressive scrubbing as it can lead to thicker skin over time.
Common Mistakes to Avoid
Over exfoliating: It is tempting to keep going until every bit of skin is gone but you need some protection. Stop when the skin feels smooth to the touch.
Skipping the soak: Working on dry hard skin can cause cracking and pain. Always soften the area first.
Neglecting tools: Keep your devices clean and replace the grinding heads regularly to ensure they remain effective and hygienic.
Ignoring the cuticles: Overgrown cuticles can make even the smoothest feet look messy. Use your drill or a pusher to keep them neat.
Frequently Asked Questions
How often should I use an electric callus remover?
It is generally best to use it once every week or two depending on how quickly your skin builds up. Over exfoliating can lead to sensitivity so listen to your body and stop if the skin feels tender.
Are press on nails actually safe for my natural nails?
Yes as long as you apply and remove them correctly. Avoid ripping them off and instead use a soak off method with oil or acetone to ensure your natural nail remains healthy.
Can I fix deep cracks in my heels at home?
Most mild to moderate cracks can be handled with consistent exfoliation and heavy moisturizing. However if the cracks are bleeding or look infected it is always best to see a professional podiatrist.
What is the best way to clean my portable nail drill bits?
You should soak your metal bits in surgical spirit or a dedicated disinfectant after every use. This prevents the buildup of bacteria and ensures your tools last longer.
How do I make my home pedicure last longer?
The secret is daily maintenance. Apply a foot lotion every night before bed and use a gentle scrub during your daily shower to prevent new calluses from forming.
Bottom Line
Creating a spa experience at home is more accessible now than ever before. By combining the right tech like electric removers and portable drills with high quality products like reusable nail kits you can achieve incredible results. Getting those elusive glass feet is simply a matter of consistency and using the right methods to treat your skin with the care it deserves.
For all your high quality beauty supplies and the latest in home pedicure technology you can rely on the curated selection at ToesNails to help you look and feel your absolute best.