
A Practical Guide to Apply Press On Nails for Salon Quality Results
· Last updated June 11, 2026For beauty brands, ecommerce stores, and service-based businesses, press on nails create a simple promise: salon-style results without a salon appointment. The problem starts when customers apply them too quickly, skip prep, or choose the wrong size. Then nails lift early, the finish looks bulky, and the buyer blames the product instead of the process.
We often see the same issue across beauty retail. A strong product still needs clear instructions, realistic expectations, and a smooth user experience. When customers understand how to apply press on nails correctly, they get better wear time, fewer complaints, and more confidence in buying again.
This guide explains how to apply press on nails at home with salon-inspired steps that feel practical, simple, and repeatable.
Why Press On Nails Have Become A Smart Beauty Choice?
Press on nails no longer feels like a quick backup option. Many customers now use them for events, work, travel, content shoots, and regular weekly beauty routines. They save time, reduce salon visits, and let customers switch styles without committing to one look for weeks.
For ecommerce brands, this shift creates a real opportunity. Customers want salon nails at home, but they also want guidance. A good product page should not only sell designs. It should explain sizing, prep, glue use, removal, and aftercare.
When brands provide that education, they reduce avoidable support issues. Customers stop asking why nails popped off after one day and start understanding how oil, moisture, and poor sizing affect wear.
Start With The Right Press On Nail Kit
The application process begins before the customer opens the glue. The right kit makes the difference between a clean finish and a frustrating experience.
A useful kit should include different nail sizes, nail glue or adhesive tabs, a nail file, a cuticle pusher, an alcohol pad, and clear instructions. Customers who buy press on nails kit options with proper prep tools usually get a cleaner result because they do not need to improvise.
Match The Kit To The Customer’s Goal
Not every customer wants the same result. Some need a short natural set for daily work. Others want acrylic press on nails for a bold event look. Brands should clearly explain which kit works best for each situation.
A soft nude set may suit office wear. A long coffin or stiletto set may work better for photos, parties, or seasonal campaigns. Clear product positioning helps customers choose correctly and reduces returns.
Do Not Overlook Nail Shape And Length
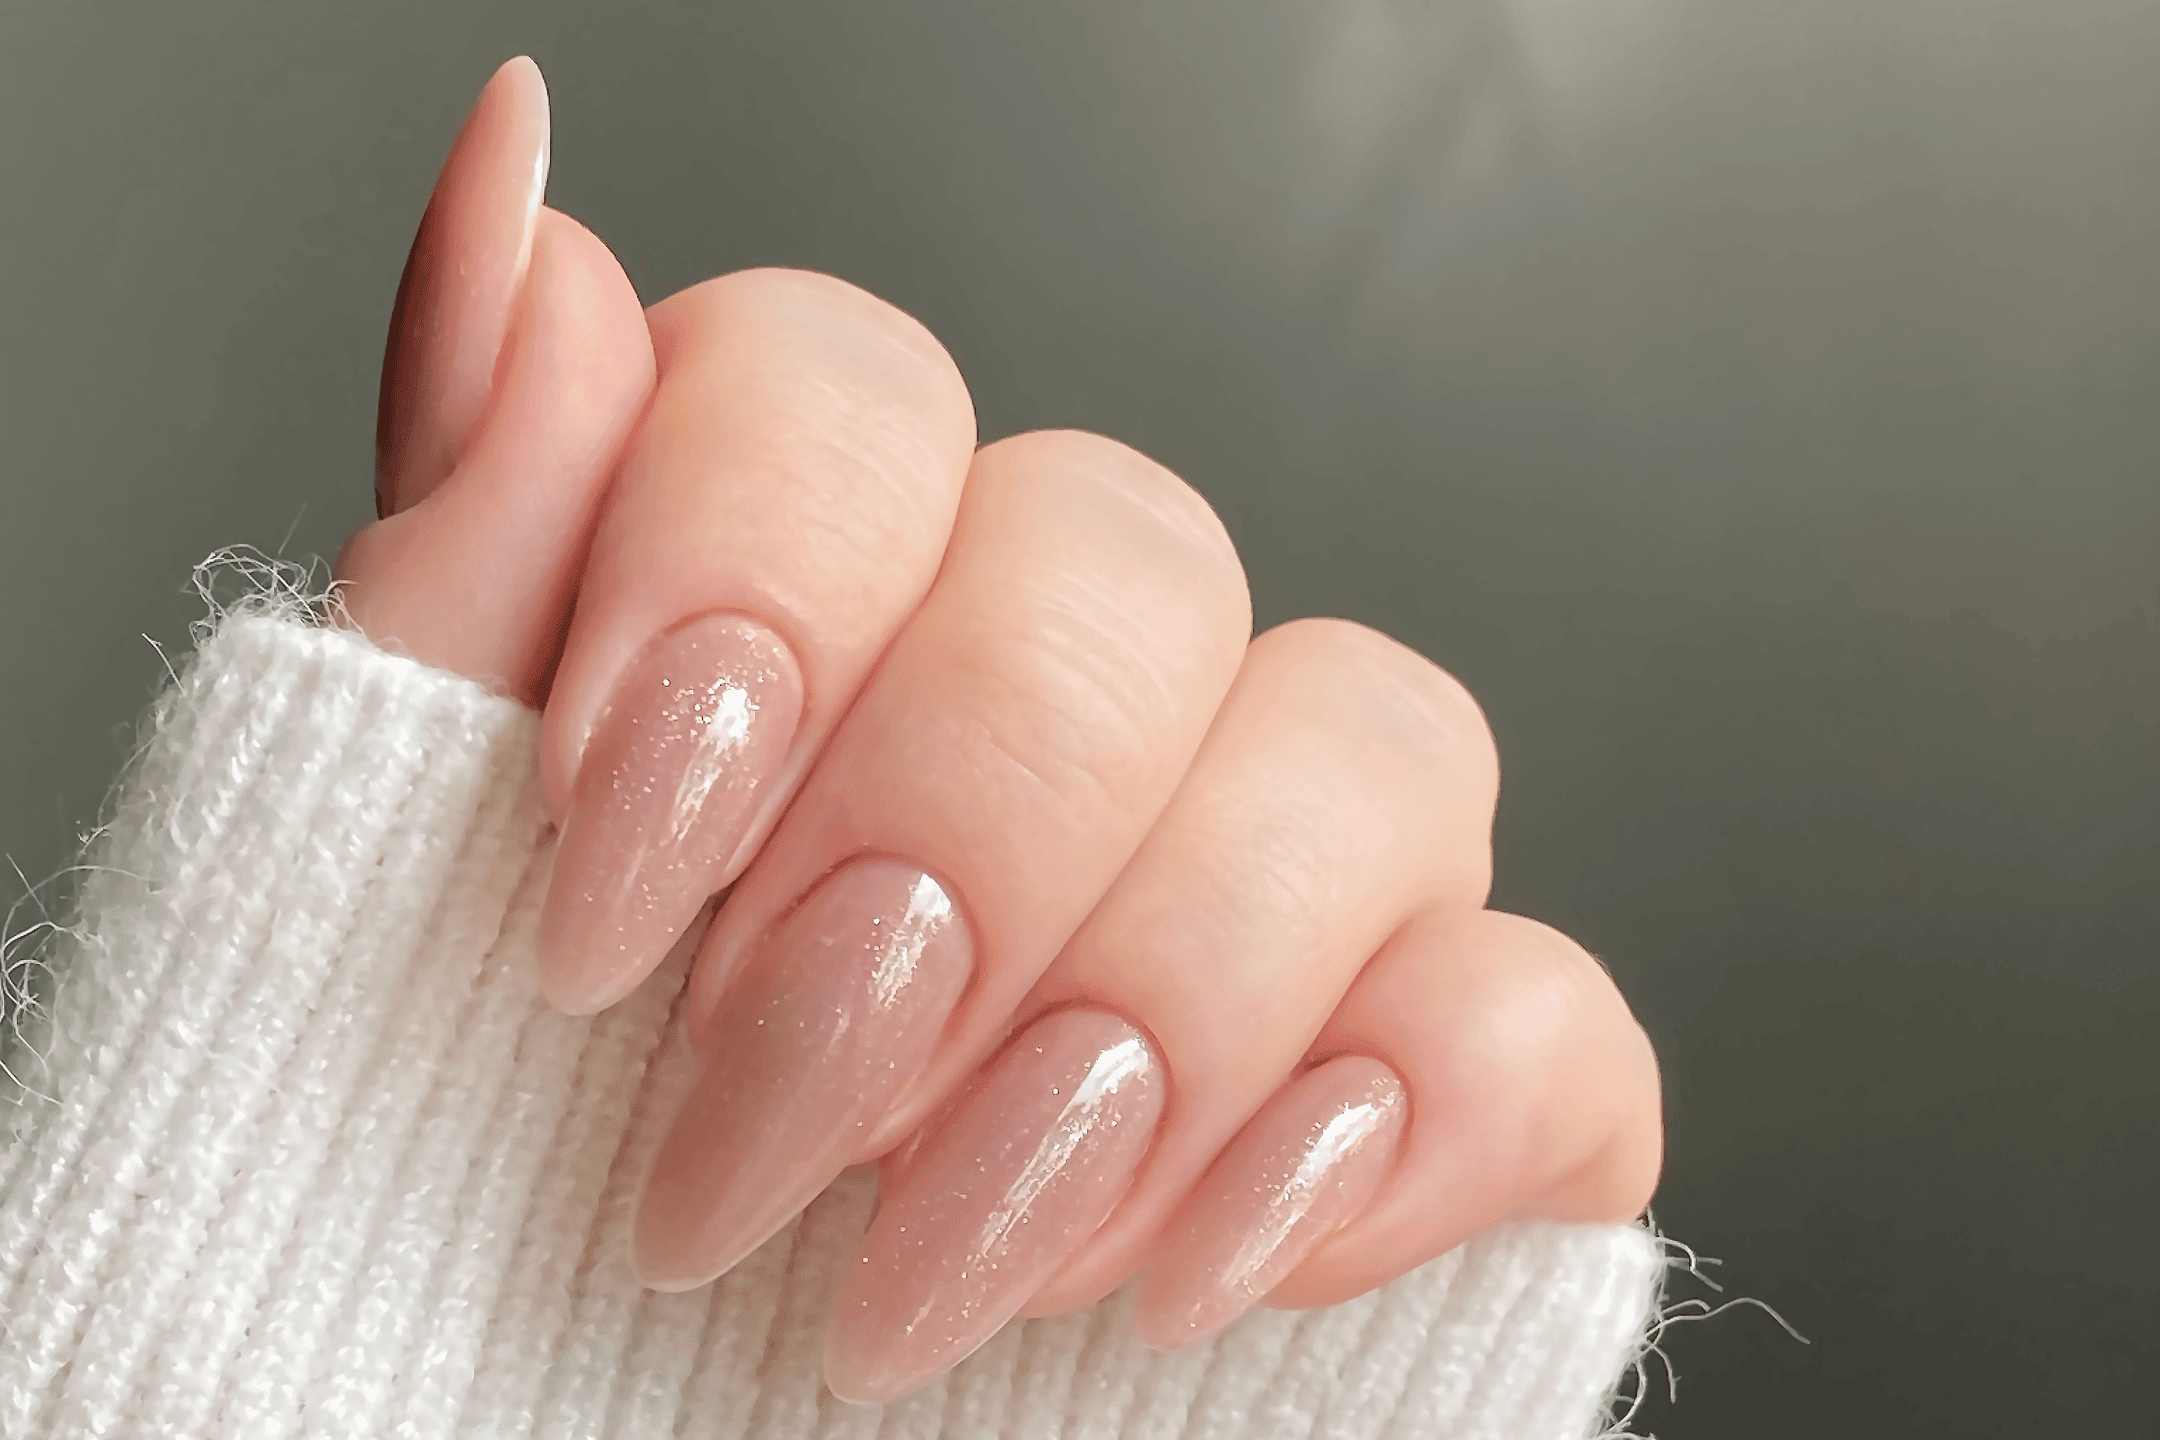
Long nails look beautiful in product photos, but they do not suit every lifestyle. Customers who type all day, handle packaging, cook often, or work with their hands may prefer short almond, squoval, or oval shapes.
A practical recommendation builds trust. We should guide buyers toward the set they can actually wear, not only the set that looks most dramatic online.
Prepare Natural Nails Like A Salon Professional
Good prep creates most of the final result. Press on nails at home can look salon-level when the natural nail surface stays clean, dry, and lightly textured.
Skipping prep causes lifting. Oils, lotion, water, and cuticle growth all weaken adhesion. That means even the best press on nails kit will underperform when customers rush the first five minutes.
Clean And Dry The Nail Surface
Start by washing hands, then dry them completely. Remove any old polish, lotion, or oil from the nail plate. Use an alcohol pad to wipe each nail before application.
This step matters because glue bonds best to a clean surface. Even a small amount of hand cream can shorten wear time.
Push Back Cuticles Gently
Use a cuticle pusher to move cuticles back from the nail plate. Do not cut aggressively. The goal is to create a clean base so the press on the nail sits close to the natural nail. When the artificial nail overlaps skin or cuticle, lifting usually starts near the base. A clean edge gives the final set a more natural look.
Lightly Buff The Nail
A gentle buff removes shine and helps glue grip better. Customers should avoid over-buffing because thin nails become sensitive and weak.
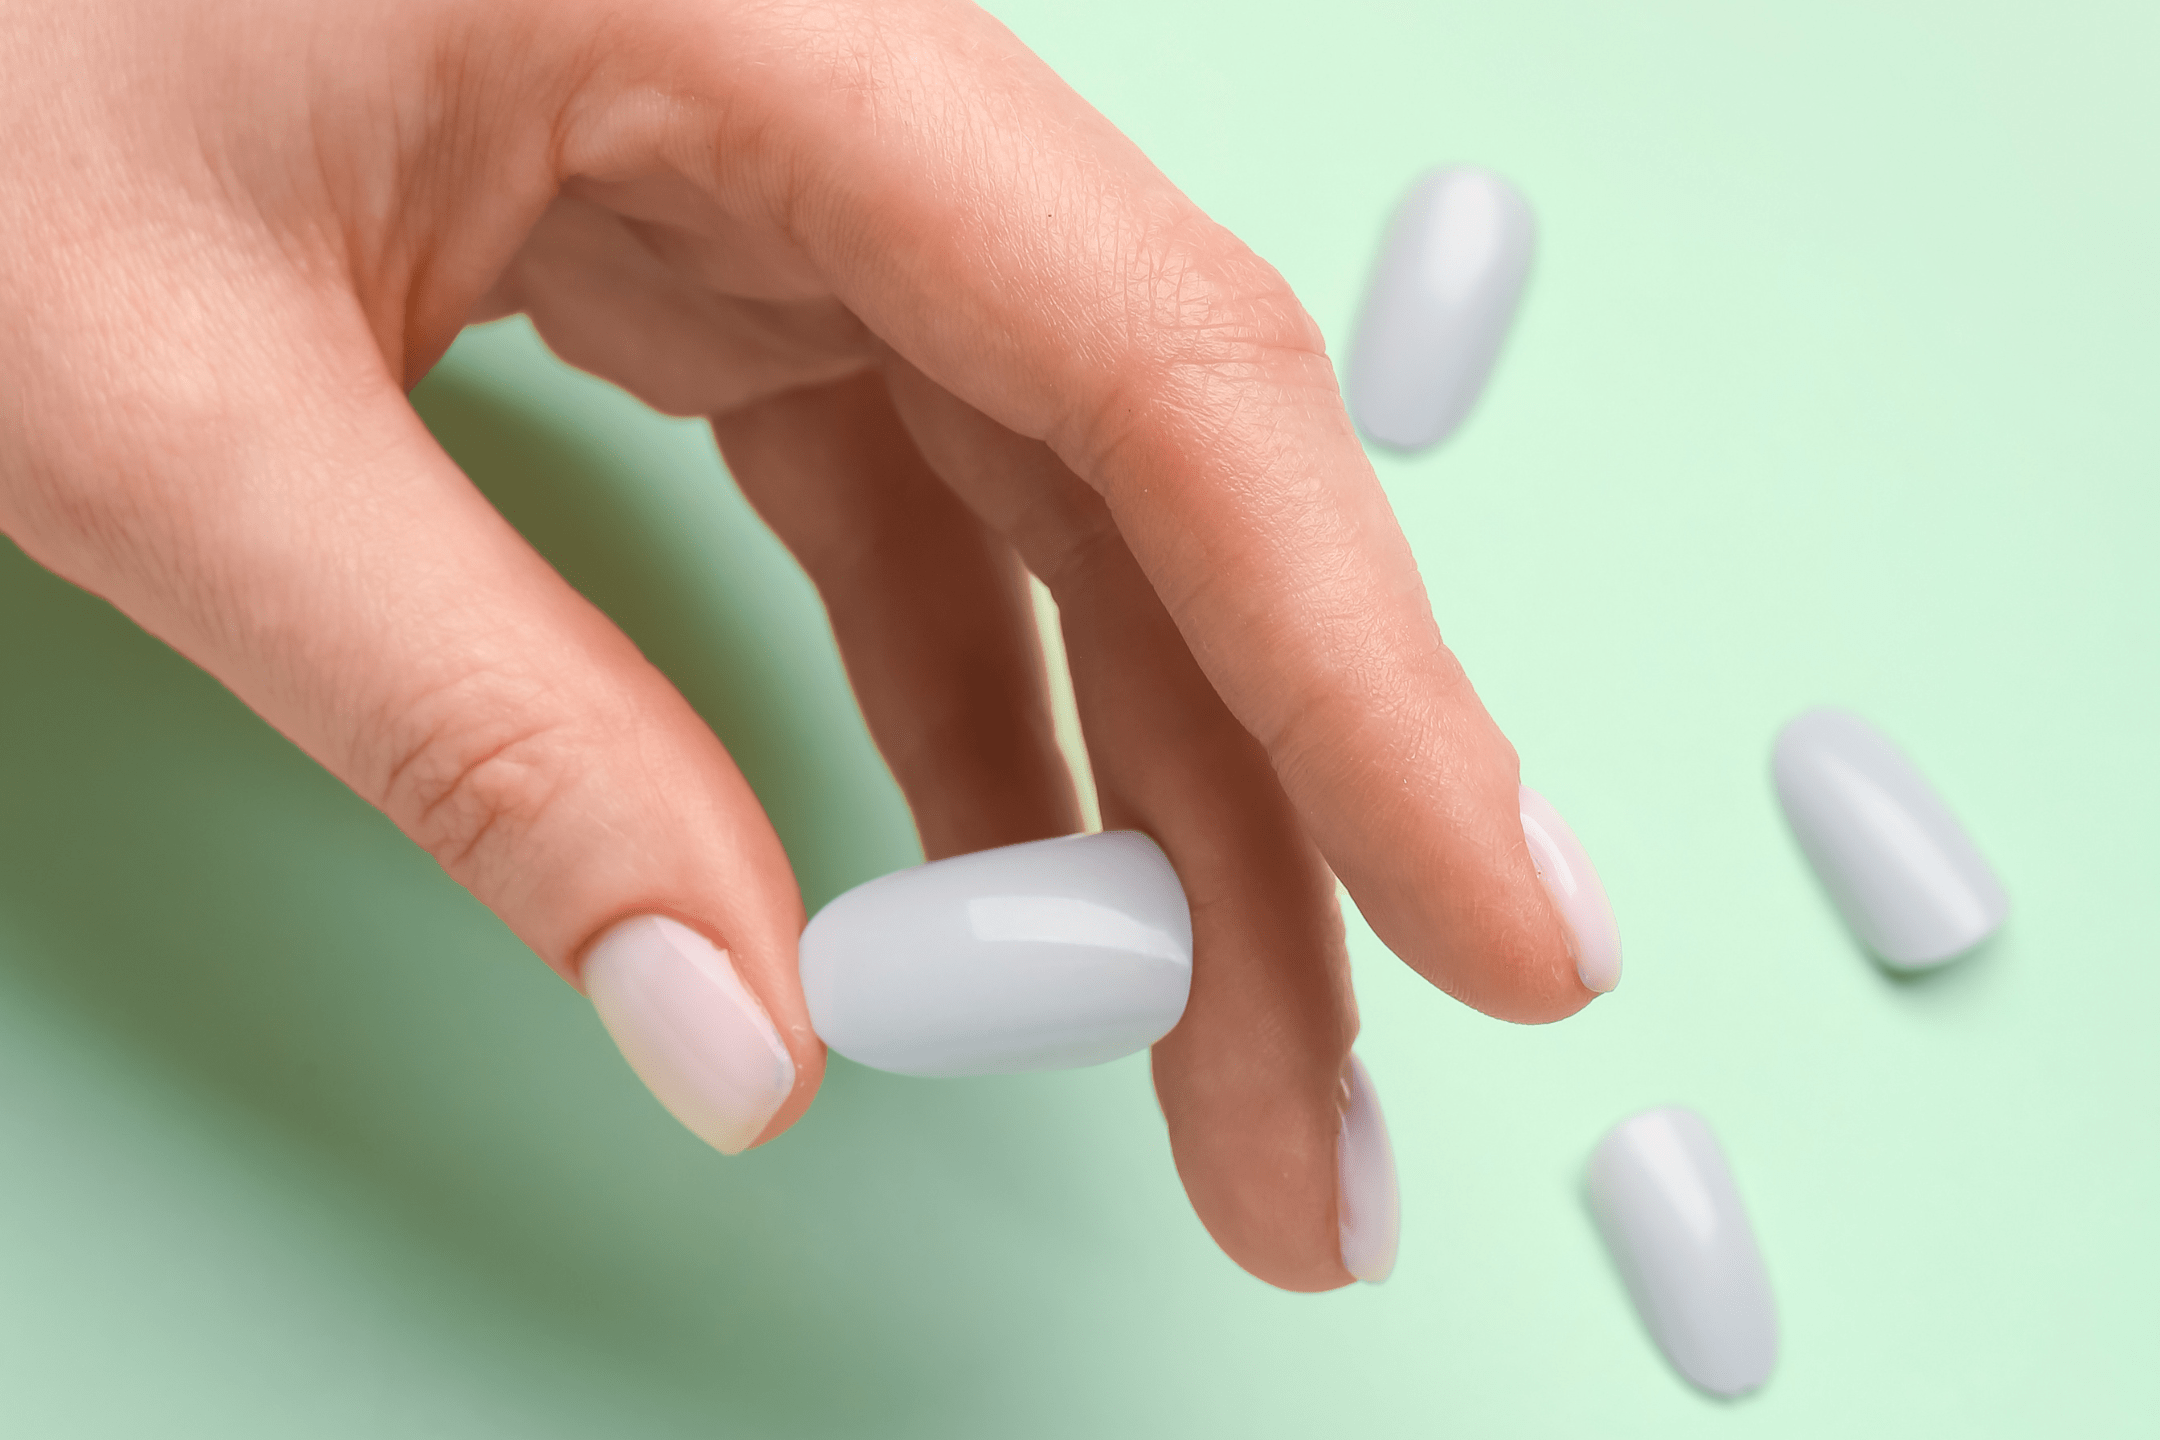
Choose The Correct Nail Size Before Applying Glue
Sizing creates the biggest visual difference between a cheap-looking set and a salon-style finish. A nail that looks too wide can press into the skin. A nail that looks too narrow exposes the natural nail at the sides.
Before using glue, lay out all nails in order from thumb to pinky. This small step prevents confusion and speeds up the application.
Size From Sidewall To Sidewall: Each press on the nail should cover the natural nail from one sidewall to the other without touching the surrounding skin. When the size falls between two options, choose the slightly larger nail and file the sides gently.
Keep Both Hands Organized: Customers often size one hand correctly, then rush the second hand. We suggest arranging nails for both hands before opening the glue. For beauty brands, this tip also works well as a product insert or short video tutorial. It reduces mistakes and improves customer satisfaction.
Apply Press On Nails At Home Step By Step

The actual application should feel controlled, not rushed. A few extra seconds per nail can add days of wear time.
Apply A Small Amount Of Glue
Place a small drop of glue on the natural nail and a thin layer on the back of the press on the nail. Too much glue creates overflow and mess. Too little glue creates air pockets. The best approach depends on nail size, but a thin, even layer usually works better than one large blob in the center.
Press At A 45 Degree Angle
Place the press on the nail near the cuticle at a slight angle, then lower it onto the natural nail. This helps push air out and creates smoother contact. Hold firmly for 20 to 30 seconds. Do not slide the nail around once it touches the glue.
Work One Nail At A Time
Apply one nail fully before moving to the next. This gives better control and prevents glue from drying before placement. For beginners, start with the pinky and finish with the thumb. Thumbs often need more pressure and attention because they handle more daily impact.
How To Make Press On Nails Look More Natural
A natural finish depends on fit, shape, pressure, and final cleanup. Customers often focus only on design, but small finishing steps create the salon effect.
File The Edges After Application
Once the nails feel secure, file the tips and side edges lightly. This removes any sharp plastic feel and helps the shape match the customer’s hand. A light touch works best. Over-filing can damage the design or weaken the nail tip.
Avoid Water Right After Application
Do not wash dishes, shower, swim, or soak hands for at least a few hours after applying nails. Glue needs time to settle. This one habit improves wear time dramatically. Many customers apply nails, then immediately wash their hands or use oil. That breaks the bond early.
Add Cuticle Oil Later, Not Immediately
Cuticle oil improves the final look, but timing matters. Wait until the glue has fully bonded before applying oil around the nail. For customers who want salon nails at home, this detail helps the set look polished without weakening adhesion.
Common Mistakes That Shorten Wear Time
Most press on nail failures come from a few repeated mistakes. Brands can turn these mistakes into helpful education across product pages, inserts, FAQs, and email flows.
Mistake 1 Applying Nails Over Oily Hands: Lotion, sunscreen, hair oil, and body oil all reduce glue strength. Customers should clean nails right before application, not ten minutes earlier.
Mistake 2 Choosing Nails That Are Too Large: Oversized nails lift at the edges and look bulky. Proper sizing creates a flatter, more realistic finish.
Mistake 3 Using Too Much Glue: Extra glue does not mean stronger wear. It often spills onto skin, creates uneven pressure, and makes removal harder.
Mistake 4: Skipping The Hold Time: Pressing for only a few seconds weakens the bond. A firm 20 to 30 second hold gives glue enough contact time.
Common Asking Questions
How do we make press on nails last longer?
Clean the natural nails, push back cuticles, buff lightly, and apply the correct amount of glue. Avoid water, oil, and heavy hand use right after application.
Can press on nails look like salon nails?
Yes, press on nails can look like salon nails when the size, shape, and application fit the natural nail properly. Filing the edges after application also helps create a custom finish.
Are acrylic press on nails good for beginners?
Acrylic press on nails can work well for beginners when the kit includes clear sizing and prep tools. Shorter lengths usually feel easier for first-time users.
Should we use glue or adhesive tabs?
Glue works better for longer wear, while adhesive tabs suit short-term use or special events. Customers should choose based on how long they want to wear the set.
What should customers avoid after applying press on nails?
Customers should avoid water, oil, lotion, and heavy pressure for the first few hours. These habits can weaken the glue bond and cause early lifting.
Can press on nails damage natural nails?
Press on nails should not damage natural nails when customers apply and remove them properly. Damage usually happens when nails get forced off instead of soaked and loosened gently.
To Sum Up
Press on nails can deliver a smooth, natural, salon-inspired finish at home, but the result depends on more than the design. Proper prep, sizing, glue control, pressure, and aftercare all shape the final experience.
For beauty brands and ecommerce sellers, this creates a practical lesson. A strong product needs strong customer guidance. When customers understand how to apply press on nails at home, they get better results, trust the product more, and feel more confident buying again.
Businesses that sell nail products should make application education part of the customer journey. However, ToesNails provides clear instructions, helpful product pages, simple inserts, and short tutorials can improve satisfaction while reducing avoidable support issues.